
Introduction to DIY Meter Socket Installation
A meter socket is an essential component of an electrical system that connects the utility company’s power lines to a building’s electrical panel. It is responsible for measuring the amount of electricity consumed by the building and is crucial for accurate billing. While hiring a professional electrician to install a meter socket is the most common approach, there are advantages to doing it yourself.
One of the main advantages of DIY meter socket installation is cost savings. Hiring a professional can be expensive, and by taking on the project yourself, you can save a significant amount of money. Additionally, installing a meter socket yourself allows you to have full control over the process and ensures that it is done to your specifications. It can also be a rewarding DIY project that increases your knowledge and understanding of electrical systems.
Understanding the Basics of Meter Socket Installation
To understand meter socket installation, it is important to have a basic understanding of the electrical system. The electrical system consists of power lines that deliver electricity from the utility company to the building. The meter socket is the point where the utility company’s power lines connect to the building’s electrical panel.
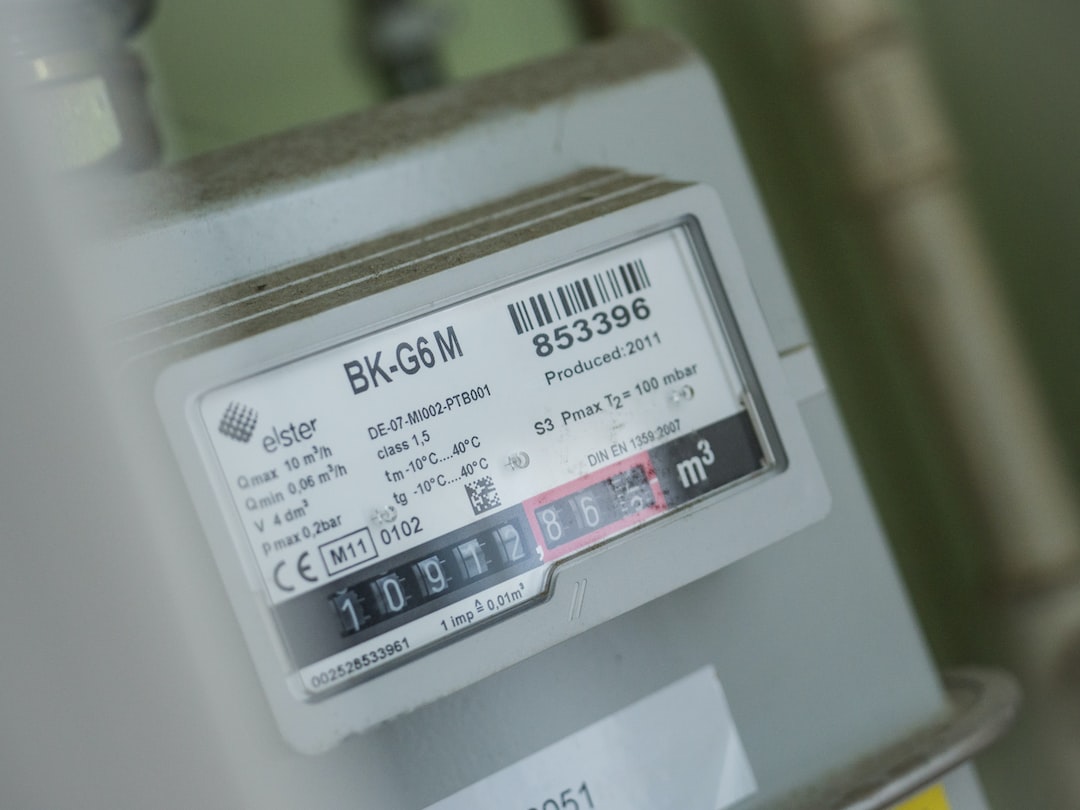
There are different types of meter sockets available, including overhead and underground installations. Overhead meter sockets are typically mounted on the exterior of the building, while underground meter sockets are installed in a pit or underground vault. The type of meter socket you choose will depend on the specific requirements of your electrical system.
Tools and Materials Needed for DIY Meter Socket Installation
Before starting the installation process, it is important to gather all the necessary tools and materials. Some of the tools you will need include a screwdriver, pliers, wire strippers, and a voltage tester. You will also need materials such as a meter socket, conduit, wire, and connectors.
When selecting the right equipment, it is important to choose high-quality materials that meet the necessary safety standards. This will ensure that your meter socket installation is safe and reliable. It is also a good idea to consult with a professional or do thorough research to ensure you are using the correct materials for your specific electrical system.
Safety Precautions to Follow During Meter Socket Installation
Working with electricity can be dangerous, so it is crucial to follow safety precautions during the meter socket installation process. Before starting any electrical work, it is important to turn off the power to the area where you will be working. This can be done by switching off the circuit breaker or removing the fuse.
It is also important to wear protective gear, such as gloves and safety glasses, to protect yourself from any potential hazards. Additionally, it is important to test the voltage with a voltage tester before touching any wires to ensure that the power is off.
During the installation process, it is important to handle the wires carefully and avoid touching any exposed wires. It is also important to ensure that all connections are secure and properly insulated to prevent any electrical hazards.
After the installation is complete, it is important to test the meter socket to ensure that it is functioning properly. This can be done by turning on the power and checking that the meter is accurately measuring the electricity consumption.
Step-by-Step Guide to Installing a Meter Socket
1. Turn off the power: Before starting the installation process, turn off the power to the area where you will be working.
2. Remove the old meter socket: If there is an existing meter socket, carefully remove it by disconnecting the wires and unscrewing any mounting brackets.
3. Install the new meter socket: Position the new meter socket in the desired location and secure it using the appropriate mounting brackets. Connect the wires to the corresponding terminals on the meter socket, ensuring that they are securely fastened.
4. Connect the conduit: If necessary, install conduit to protect the wires. Connect the conduit to the meter socket and secure it using appropriate connectors.
5. Test the installation: After completing the installation, turn on the power and test the meter socket to ensure that it is functioning properly. Check that the meter is accurately measuring the electricity consumption.
Common Mistakes to Avoid When Installing a Meter Socket
While DIY meter socket installation can be a rewarding project, there are common mistakes that should be avoided to ensure a successful installation. One common mistake is not turning off the power before starting the installation. This can lead to electrical shocks or other hazards. Always remember to turn off the power and test for voltage before working on any electrical components.
Another common mistake is not properly securing the wires or using the correct connectors. Loose connections can lead to electrical issues or even fires. It is important to ensure that all connections are secure and properly insulated.
Additionally, it is important to follow the manufacturer’s instructions and guidelines when installing a meter socket. Each meter socket may have specific requirements and installation procedures that should be followed to ensure proper functioning.
Troubleshooting Tips for Meter Socket Installation
Even with careful installation, issues may arise during or after the meter socket installation process. Some common issues include incorrect wiring, faulty connections, or a malfunctioning meter. If you encounter any problems, it is important to troubleshoot and address them promptly.
If you suspect incorrect wiring, double-check the connections and ensure that the wires are properly connected to the corresponding terminals. If there are faulty connections, tighten them or replace any damaged connectors. If the meter is not functioning properly, consult the manufacturer’s instructions or contact a professional for assistance.
It is also important to regularly inspect the meter socket for any signs of damage or wear. This can include loose connections, frayed wires, or corrosion. If any issues are detected, they should be addressed immediately to prevent further damage or hazards.
Maintenance and Upkeep of Meter Socket
Regular maintenance and upkeep of the meter socket are essential to ensure its proper functioning and longevity. It is important to regularly inspect the meter socket for any signs of damage or wear. This can include loose connections, frayed wires, or corrosion. If any issues are detected, they should be addressed immediately to prevent further damage or hazards.
Additionally, it is important to keep the meter socket clean and free from debris. Regularly remove any dirt or dust that may accumulate on the meter socket. This can be done using a soft brush or cloth.
It is also important to periodically test the meter socket to ensure that it is accurately measuring the electricity consumption. This can be done by comparing the meter reading to the utility company’s billing statement. If there are any discrepancies, contact the utility company for further assistance.
Benefits of DIY Meter Socket Installation
There are several benefits to DIY meter socket installation. One of the main benefits is cost savings. Hiring a professional electrician can be expensive, and by taking on the project yourself, you can save a significant amount of money.
Another benefit is the satisfaction of completing a DIY project. Installing a meter socket yourself allows you to have full control over the process and ensures that it is done to your specifications. It can be a rewarding project that increases your knowledge and understanding of electrical systems.
Additionally, DIY meter socket installation provides an opportunity to learn new skills and gain confidence in working with electrical components. This knowledge can be valuable for future projects or repairs.
Conclusion: Enjoying the Benefits of Successful Meter Socket Installation
In conclusion, DIY meter socket installation can be a cost-effective and rewarding project. By understanding the basics of meter socket installation, gathering the necessary tools and materials, following safety precautions, and following a step-by-step guide, you can successfully install a meter socket.
Avoiding common mistakes and troubleshooting any issues that arise will ensure a successful installation. Regular maintenance and upkeep of the meter socket will keep it in good condition and functioning properly.
By taking on the project yourself, you can save money, gain knowledge and skills, and enjoy the satisfaction of completing a DIY project. So, why not take on the challenge of installing a meter socket and enjoy the benefits it brings?
If you’re interested in home improvement projects, you may also want to check out this article on “The Benefits of Attic Fan Installation: Why You Need One in Your Home.” Attic fans can help regulate the temperature in your home, reduce energy costs, and prevent moisture buildup. Click here to learn more about the advantages of attic fan installation.