
Introduction to DIY Concrete Staining Projects
Concrete staining is a popular DIY project that involves applying a stain to concrete surfaces to enhance their appearance. It is a cost-effective way to transform dull and boring concrete into a beautiful and unique surface. Concrete staining is a versatile technique that can be used both indoors and outdoors, making it a popular choice for homeowners looking to update their spaces.
One of the reasons why concrete staining is a popular DIY project is because it is relatively easy to do. With the right tools and materials, anyone can achieve professional-looking results. Additionally, concrete staining allows for creativity and customization, as there are a variety of stain colors and techniques to choose from.
Benefits of Concrete Staining
Concrete staining offers several benefits that make it an attractive option for homeowners. Firstly, it enhances the appearance of concrete surfaces by adding color and depth. Whether you prefer a natural stone look or a vibrant and bold color, concrete staining can help you achieve the desired effect.
In addition to improving the aesthetics, concrete staining also increases the durability and longevity of the surface. The stain penetrates the concrete, creating a protective layer that helps to prevent damage from foot traffic, UV rays, and other elements. This makes stained concrete a great option for high-traffic areas such as driveways and patios.
Another advantage of concrete staining is its cost-effectiveness compared to other flooring options. Stained concrete is often more affordable than materials like hardwood or tile, making it a budget-friendly choice for homeowners. Additionally, stained concrete requires minimal maintenance, saving you time and money in the long run.
Types of Concrete Stains
There are several types of concrete stains available, each with its own unique characteristics and application methods. The most common types of concrete stains include acid-based stains, water-based stains, acetone-based stains, and dye stains.
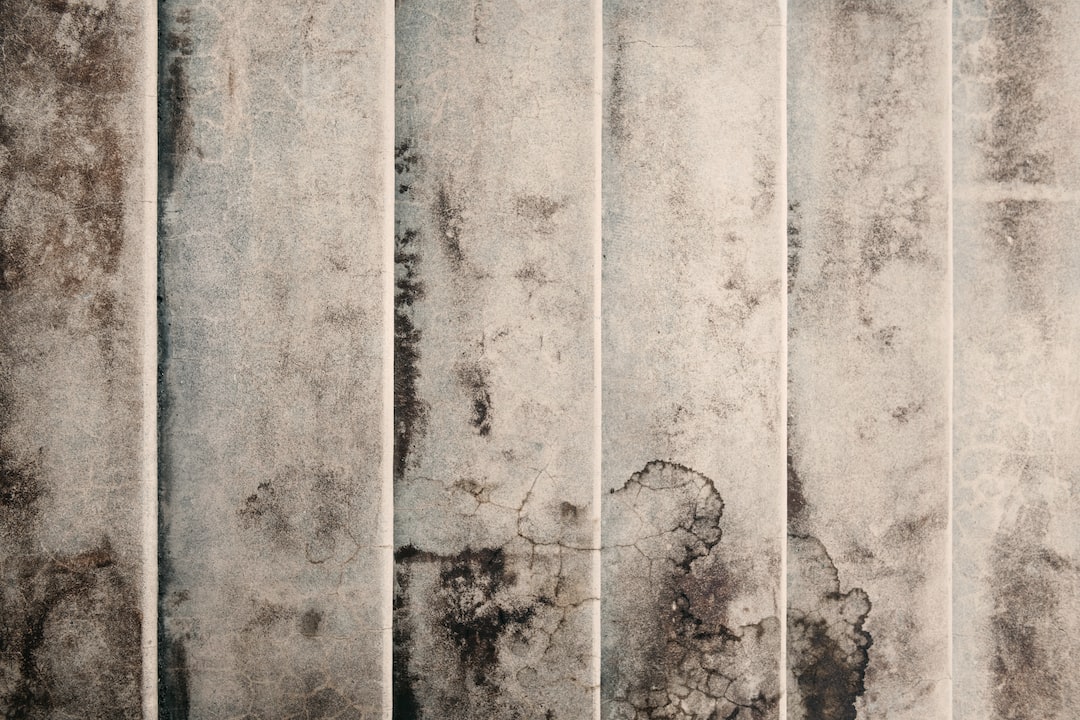
Acid-based stains are a popular choice for concrete staining because they create a rich and variegated color. These stains react with the minerals in the concrete, creating a unique and mottled appearance. Acid-based stains are available in a variety of colors and can be used both indoors and outdoors.
Water-based stains are another option for concrete staining. These stains are easy to use and offer a wide range of color options. Water-based stains are non-reactive and penetrate the concrete to create a uniform and consistent color. They are also low in VOCs (volatile organic compounds), making them a more environmentally friendly choice.
Acetone-based stains are a newer type of stain that offer quick drying times and vibrant colors. These stains are often used for decorative concrete projects and can be applied to both interior and exterior surfaces. Acetone-based stains are known for their high durability and resistance to fading.
Dye stains are a popular choice for indoor concrete staining projects. These stains are available in a wide range of colors and can be used to create intricate designs and patterns. Dye stains are often used in conjunction with other staining techniques to achieve a desired effect.
Preparation for Concrete Staining
Before starting a concrete staining project, it is important to properly prepare the surface to ensure optimal results. This includes cleaning the surface, repairing any cracks or holes, testing for moisture, and applying a primer.
Cleaning the surface is the first step in preparing for concrete staining. It is important to remove any dirt, grease, or other contaminants from the surface to ensure proper adhesion of the stain. This can be done using a concrete cleaner and a pressure washer or scrub brush.
If there are any cracks or holes in the concrete, they should be repaired before staining. This can be done using a concrete patching compound or epoxy filler. It is important to allow the repairs to fully cure before proceeding with the staining process.
Testing the surface for moisture is crucial to ensure that the stain will properly adhere to the concrete. This can be done by placing a plastic sheet on the surface and sealing the edges with tape. If moisture accumulates on the underside of the plastic after 24 hours, it indicates that there is excessive moisture in the concrete and the staining process should be delayed.
Applying a primer is recommended to ensure proper adhesion of the stain and to enhance the color. The primer acts as a base coat and helps to seal the concrete, allowing the stain to penetrate evenly. It is important to choose a primer that is compatible with the type of stain being used.
Tools and Materials Needed for Concrete Staining
To successfully complete a concrete staining project, you will need a few essential tools and materials. These include protective gear, a stain applicator, brushes and rollers, a sealant, and a concrete cleaner.
Protective gear is important to ensure your safety during the staining process. This includes gloves, safety glasses, and a respirator or mask to protect against fumes and dust.
A stain applicator is used to apply the stain to the concrete surface. There are several options available, including brushes, rollers, and sprayers. The choice of applicator will depend on the size and complexity of the project.
Brushes and rollers are used to apply the stain evenly and to create different effects and textures. Brushes are often used for smaller areas or for creating intricate designs, while rollers are more commonly used for larger areas.
A sealant is applied after the stain has dried to protect the surface and enhance the color. There are different types of sealants available, including acrylic sealers and epoxy coatings. The choice of sealant will depend on the desired level of protection and the type of stain being used.
A concrete cleaner is used to prepare the surface before staining. This can be a commercial concrete cleaner or a mixture of water and mild detergent. It is important to thoroughly clean the surface to remove any dirt, grease, or other contaminants that could interfere with the staining process.
Step-by-Step Guide to Concrete Staining
Once the surface has been properly prepared and all the necessary tools and materials are ready, you can begin the concrete staining process. Here is a step-by-step guide to help you achieve professional-looking results:
1. Mixing the stain: Follow the manufacturer’s instructions to mix the stain properly. This may involve diluting the stain with water or other additives to achieve the desired color and consistency.
2. Applying the stain: Use a stain applicator, such as a brush or roller, to apply the stain to the concrete surface. Work in small sections, applying the stain evenly and in a consistent manner. It is important to avoid overlapping or leaving puddles of stain.
3. Letting the stain dry: Allow the stain to dry completely before applying a sealant. The drying time will depend on the type of stain and the environmental conditions. It is important to follow the manufacturer’s instructions for drying times.
4. Applying a sealant: Once the stain has dried, apply a sealant to protect the surface and enhance the color. Use a brush or roller to apply the sealant evenly, working in small sections. Allow the sealant to dry completely before using the stained surface.
Tips for Achieving a Professional Look
To achieve a professional look with your concrete staining project, there are a few tips and tricks to keep in mind. These include choosing the right stain color, applying the stain evenly, using multiple coats, and sealing the surface properly.
Choosing the right stain color is important to achieve the desired effect. Consider the overall color scheme of the space and the look you want to achieve. It can be helpful to test the stain on a small inconspicuous area before applying it to the entire surface.
Applying the stain evenly is crucial to achieve a consistent and uniform color. Take your time and work in small sections, making sure to avoid overlapping or leaving puddles of stain. It can be helpful to practice your technique on a small test area before starting the project.
Using multiple coats of stain can help to achieve a deeper and more vibrant color. Apply the first coat of stain and allow it to dry completely before applying additional coats. It is important to follow the manufacturer’s instructions for drying times between coats.
Sealing the surface properly is essential to protect the stained concrete and enhance the color. Choose a sealant that is compatible with the type of stain being used and follow the manufacturer’s instructions for application. It is important to apply the sealant evenly and to allow it to dry completely before using the stained surface.
Creative Concrete Staining Ideas for Indoors
Concrete staining can be used to transform indoor spaces and create unique and personalized designs. Here are a few creative ideas for using concrete staining indoors:
Staining concrete floors: Stained concrete floors can add a touch of elegance and sophistication to any room. Choose a stain color that complements the overall color scheme of the space and consider adding decorative elements such as stencils or patterns.
Staining concrete countertops: Concrete countertops are a popular choice for kitchens and bathrooms. Staining the countertops can add color and depth, creating a unique and eye-catching focal point. Consider using multiple stain colors or adding decorative elements such as metallic flakes or aggregates.
Staining concrete walls: Concrete walls can be transformed with the use of stains. Consider staining an accent wall or creating a mural using different stain colors. This can add visual interest and create a one-of-a-kind design element.
Creative Concrete Staining Ideas for Outdoors
Concrete staining is also a great option for outdoor spaces, allowing you to create beautiful and durable surfaces. Here are a few creative ideas for using concrete staining outdoors:
Staining concrete patios: Stained concrete patios can create a beautiful and inviting outdoor living space. Choose a stain color that complements the surrounding landscape and consider adding decorative elements such as stencils or patterns.
Staining concrete driveways: Stained concrete driveways can add curb appeal to your home. Consider using a stain color that matches the exterior of your house and adding decorative elements such as borders or patterns.
Staining concrete pool decks: Stained concrete pool decks can create a luxurious and resort-like atmosphere. Choose a stain color that complements the pool and surrounding landscape and consider adding decorative elements such as stencils or patterns.
Conclusion: Unleashing Your Creativity with DIY Concrete Staining Projects
In conclusion, DIY concrete staining projects offer a cost-effective and versatile way to enhance the appearance of concrete surfaces. Whether you are looking to update your indoor floors or transform your outdoor spaces, concrete staining allows you to unleash your creativity and create unique and personalized designs.
By following the proper preparation and application techniques, you can achieve professional-looking results with your concrete staining project. With a wide range of stain colors and techniques to choose from, the possibilities are endless.
So why not give DIY concrete staining a try? It’s a fun and rewarding project that can transform your space and unleash your creativity. Whether you are a seasoned DIYer or a beginner, concrete staining is a great way to add beauty and value to your home.
If you’re interested in concrete staining, you may also want to check out this article on the importance of regular appliance maintenance. Maintaining your appliances is crucial for a happy and functional home. Regular maintenance can help prevent breakdowns and extend the lifespan of your appliances. Click here to read more about it.