
Introduction: Understanding the Most Common Oven Problems
Having a fully functional oven in the kitchen is essential for cooking and baking delicious meals. However, like any other appliance, ovens can encounter problems that can hinder their performance. Understanding the most common oven problems and how to troubleshoot and fix them can save homeowners time and money.
Problem #1: Oven Not Heating Up
One of the most common oven problems is when it fails to heat up. This can be frustrating, especially when you have a meal to prepare. There are several possible causes for this issue, including a faulty heating element or thermostat. The heating element is responsible for generating heat in the oven, while the thermostat regulates the temperature.
To troubleshoot and fix this problem, start by checking the heating element. Turn off the power supply to the oven and remove the heating element. Use a multimeter to test the continuity of the element. If there is no continuity, it means the heating element is faulty and needs to be replaced. If the heating element is working fine, the next step is to check the thermostat. Again, turn off the power supply and remove the thermostat. Test it with a multimeter to see if it is functioning properly. If the thermostat is faulty, it will need to be replaced.
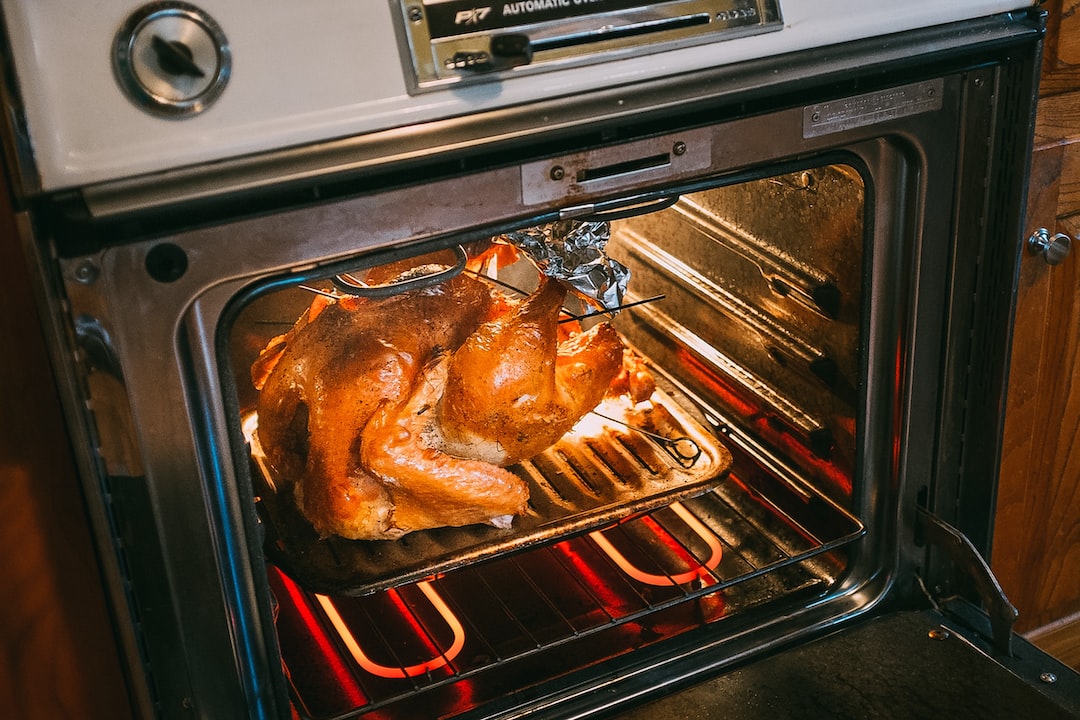
Problem #2: Uneven Cooking or Baking
Another common problem that homeowners encounter with their ovens is uneven cooking or baking. This can result in some parts of the food being overcooked while others remain undercooked. There are several reasons why this may happen, including a malfunctioning fan or heating element.
To diagnose and repair this issue, start by checking the fan. Turn on the oven and listen for the sound of the fan running. If you don’t hear anything, it means the fan is not working. In this case, you will need to replace the fan motor. If the fan is working fine, the next step is to check the heating element. Turn off the power supply and remove the heating element. Test it with a multimeter to see if it is functioning properly. If the heating element is faulty, it will need to be replaced.
Problem #3: Oven Door Not Closing Properly
A faulty oven door can be a major inconvenience. It can prevent the oven from reaching the desired temperature and can also be a safety hazard. The most common cause of a door not closing properly is a faulty door seal or hinge.
To fix this problem, start by inspecting the door seal. Look for any signs of wear or damage. If the seal is damaged, it will need to be replaced. To replace the seal, remove the old one by pulling it out of the groove. Clean the groove and then insert the new seal, making sure it is properly aligned. If the door seal is in good condition, the next step is to check the hinges. Inspect the hinges for any signs of wear or damage. If the hinges are faulty, they will need to be replaced.
Problem #4: Burners Not Lighting
For gas ovens, a common problem is when the burners fail to light. This can be caused by a variety of reasons, including clogged burner holes or a faulty igniter.
To troubleshoot and fix this issue, start by cleaning the burner holes. Turn off the gas supply and remove the burner caps and grates. Use a wire brush or a toothpick to clean the burner holes. Make sure they are free from any debris or blockages. If the burner holes are clean and the burners still won’t light, the next step is to check the igniter. Turn off the gas supply and remove the igniter. Test it with a multimeter to see if it is functioning properly. If the igniter is faulty, it will need to be replaced.
Problem #5: Self-Cleaning Function Not Working
Many ovens come with a self-cleaning function, which is a convenient feature that saves homeowners time and effort. However, if this function is not working, it can be frustrating. A malfunctioning self-cleaning function is often caused by a faulty thermostat or heating element.
To troubleshoot and repair this issue, start by checking the thermostat. Turn off the power supply and remove the thermostat. Test it with a multimeter to see if it is functioning properly. If the thermostat is faulty, it will need to be replaced. If the thermostat is working fine, the next step is to check the heating element. Turn off the power supply and remove the heating element. Test it with a multimeter to see if it is functioning properly. If the heating element is faulty, it will need to be replaced.
Tools and Materials Needed for DIY Oven Repair
To perform DIY oven repairs, there are several essential tools and materials that you will need. These include a multimeter, screwdrivers, replacement parts (such as heating elements, thermostats, door seals, hinges, and igniters), wire brushes or toothpicks for cleaning, and protective gear (such as gloves and safety glasses).
Step-by-Step Guide to Fixing Oven Problems Yourself
To fix the most common oven problems yourself, follow these step-by-step instructions:
1. Turn off the power supply to the oven before starting any repairs.
2. For an oven not heating up, start by checking the heating element. Use a multimeter to test its continuity. If there is no continuity, replace the heating element. If the heating element is fine, check the thermostat. Test it with a multimeter and replace if necessary.
3. For uneven cooking or baking, check the fan. If it is not running, replace the fan motor. If the fan is working fine, check the heating element. Test it with a multimeter and replace if necessary.
4. For an oven door not closing properly, inspect the door seal for wear or damage. Replace the seal if necessary. If the seal is fine, check the hinges for wear or damage. Replace the hinges if necessary.
5. For burners not lighting on a gas oven, clean the burner holes using a wire brush or toothpick. If the burners still won’t light, check the igniter. Test it with a multimeter and replace if necessary.
6. For a self-cleaning function not working, check the thermostat. Test it with a multimeter and replace if necessary. If the thermostat is fine, check the heating element. Test it with a multimeter and replace if necessary.
Safety Tips to Keep in Mind When Repairing Your Oven
When repairing your oven, it is important to prioritize safety. Here are some safety tips to keep in mind:
1. Always turn off the power supply to the oven before starting any repairs.
2. Wear protective gear, such as gloves and safety glasses, to protect yourself from any potential hazards.
3. Follow the manufacturer’s instructions and guidelines when working with electrical appliances.
4. If you are unsure about any aspect of the repair process, consult a professional technician.
Conclusion: Enjoying a Fully Functional Oven with DIY Repairs
Understanding the most common oven problems and how to troubleshoot and fix them can save homeowners time and money. By following the step-by-step instructions and safety tips provided in this article, you can confidently perform DIY oven repairs. Enjoy the benefits of a fully functional oven in your kitchen and impress your family and friends with delicious meals and baked goods.
If you’re experiencing issues with your oven, it’s important to get it repaired as soon as possible to avoid any further inconvenience. In the meantime, you might be interested in learning about the benefits of regular appliance maintenance. Regular maintenance can help prevent breakdowns and extend the lifespan of your appliances. Check out this article on the importance of regular appliance maintenance here for more information.