
Introduction
Maintaining a driveway is an essential part of home maintenance. A well-maintained driveway not only enhances the curb appeal of your property but also ensures the safety and functionality of your driveway. Over time, driveways can become damaged due to various factors such as weather, heavy vehicles, tree roots, and more. In this blog post, we will explore the causes of driveway damage, the importance of timely repairs, the pros and cons of DIY repairs versus hiring a professional, the materials and tools required for driveway repair, step-by-step guides for repairing small cracks and larger cracks and potholes, preventative measures to avoid driveway damage, factors to consider when choosing a driveway repair contractor, the cost of driveway repair and financing options, and tips for maintaining a newly repaired driveway.
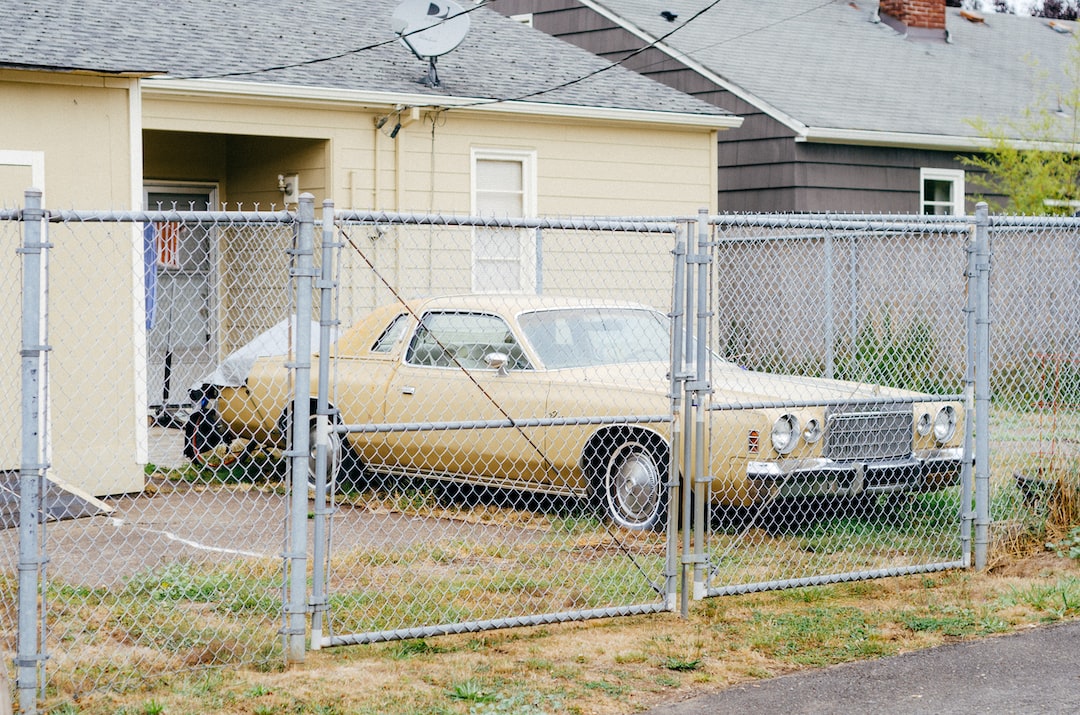
Understanding the Causes of Driveway Damage
There are several common causes of driveway damage that homeowners should be aware of. One of the primary causes is weather. Extreme temperatures, such as freezing and thawing cycles, can cause the concrete or asphalt to expand and contract, leading to cracks and other forms of damage. Heavy vehicles, such as trucks or RVs, can also cause damage to driveways, especially if they are parked or driven on the same spot repeatedly. Tree roots can also be a significant cause of driveway damage, as they can grow underneath the driveway and cause it to crack or heave.
To identify the cause of damage to your driveway, it is essential to inspect it regularly. Look for signs of cracks, potholes, or uneven surfaces. If you notice any of these issues, try to determine what may have caused them. For example, if you see cracks that are spaced evenly and run parallel to each other, it may be a sign of freeze-thaw damage. If you notice a depression or sinking in a particular area, it could be due to heavy vehicle traffic. By identifying the cause of the damage, you can take appropriate steps to repair and prevent further damage.
Importance of Timely Driveway Repair
Neglecting driveway repairs can have significant consequences. Cracks and potholes can worsen over time, leading to more extensive and costly repairs. Additionally, damaged driveways can pose safety hazards, such as tripping hazards or damage to vehicles. By addressing repairs promptly, you can prevent further damage and ensure the safety and functionality of your driveway.
Timely repairs also offer several benefits. First and foremost, they help maintain the curb appeal of your property. A well-maintained driveway can enhance the overall appearance of your home and increase its value. Secondly, timely repairs can save you money in the long run. By addressing small cracks and holes early on, you can prevent them from becoming more significant issues that require extensive repairs or even driveway replacement. Finally, repairing your driveway promptly can help extend its lifespan, allowing you to enjoy a functional and attractive driveway for years to come.
DIY vs Professional Driveway Repair: Pros and Cons
When it comes to driveway repair, homeowners have the option to either tackle the repairs themselves or hire a professional. Both options have their advantages and disadvantages.
DIY repairs can be cost-effective, as you won’t have to pay for labor costs. Additionally, DIY repairs can be a satisfying and rewarding project for homeowners who enjoy tackling home improvement tasks. However, it’s important to note that DIY repairs may not always yield professional-quality results. If you don’t have experience or the necessary skills, you may end up with a subpar repair that doesn’t last long. Furthermore, DIY repairs can be time-consuming, especially if you’re not familiar with the process. It’s essential to weigh the pros and cons and consider your skill level and available time before deciding to tackle driveway repairs on your own.
On the other hand, hiring a professional for driveway repair can ensure high-quality results. Professionals have the experience, skills, and tools necessary to perform repairs efficiently and effectively. They can also provide expert advice on the best repair methods and materials for your specific driveway. However, professional repairs can be more expensive, as you will need to pay for labor costs. It’s important to research and choose a reputable contractor to ensure that you get the best value for your money.
Materials and Tools Required for Driveway Repair
Before starting any driveway repair project, it’s important to gather the necessary materials and tools. The specific materials and tools required will depend on the type of repair you’re undertaking (e.g., filling cracks, patching holes, etc.) Here is a general list of materials and tools that you may need:
Materials:
– Concrete or asphalt patching material
– Crack filler or sealant
– Gravel or crushed stone (for pothole repair)
– Bonding agent (for concrete repairs)
– Cleaning solution (to prepare the surface for repairs)
– Safety equipment (gloves, safety glasses, etc.)
Tools:
– Trowel or putty knife
– Wire brush or scraper
– Chisel or hammer (for removing loose material)
– Broom or brush (for cleaning the surface)
– Pressure washer (optional, for deep cleaning)
– Caulking gun (for applying crack filler or sealant)
– Tamper or compactor (for compacting patching material)
– Level or straightedge (for achieving a smooth finish)
When selecting materials and tools, it’s important to choose high-quality products that are suitable for your specific driveway material (concrete or asphalt). Read product labels and follow manufacturer instructions for the best results. If you’re unsure about which materials or tools to use, consult with a professional or seek advice from a knowledgeable salesperson at a home improvement store.
Steps for Repairing Small Cracks and Holes
Small cracks and holes in a driveway can be repaired relatively easily with the right materials and tools. Here is a step-by-step guide for repairing small cracks and holes:
1. Clean the surface: Use a wire brush or scraper to remove any loose material or debris from the crack or hole. Sweep or brush the area to ensure it is clean and free of dust.
2. Prepare the crack or hole: If the crack or hole is deep, use a chisel or hammer to widen it slightly. This will create a better surface for the patching material to adhere to. Be careful not to widen the crack or hole too much, as this can weaken the surrounding area.
3. Apply a bonding agent (for concrete repairs): If you’re repairing a concrete driveway, apply a bonding agent to the crack or hole. This will help the patching material adhere to the existing concrete.
4. Fill the crack or hole: Use a trowel or putty knife to fill the crack or hole with the appropriate patching material. Press the material firmly into the crack or hole, ensuring it is level with the surrounding surface.
5. Smooth the surface: Use a trowel or putty knife to smooth the surface of the patching material. Try to achieve a smooth finish that blends in with the rest of the driveway.
6. Allow the repair to cure: Follow the manufacturer’s instructions for curing time. This may involve allowing the repair to dry for a certain period or applying a sealant or topcoat.
7. Seal the repair (optional): If desired, apply a sealant or topcoat to the repaired area. This can help protect the repair from further damage and enhance its appearance.
Techniques for Repairing Larger Cracks and Potholes
Larger cracks and potholes in a driveway may require more extensive repairs. Here is a step-by-step guide for repairing larger cracks and potholes:
1. Clean the surface: Use a wire brush or scraper to remove any loose material or debris from the crack or pothole. Sweep or brush the area to ensure it is clean and free of dust.
2. Prepare the crack or pothole: If the crack or pothole is deep, use a chisel or hammer to widen it slightly. This will create a better surface for the patching material to adhere to. Be careful not to widen the crack or pothole too much, as this can weaken the surrounding area.
3. Fill the crack or pothole: For cracks, use a crack filler or sealant to fill the crack. Apply the filler or sealant according to the manufacturer’s instructions, ensuring it fills the crack completely. For potholes, fill the hole with gravel or crushed stone until it is about three inches below the surface. Compact the gravel or crushed stone with a tamper or compactor.
4. Apply the patching material: For cracks, apply the appropriate patching material over the crack filler or sealant. For potholes, apply a layer of patching material over the compacted gravel or crushed stone. Use a trowel or putty knife to smooth the surface of the patching material, ensuring it is level with the surrounding surface.
5. Compact the patching material: Use a tamper or compactor to compact the patching material. This will help ensure a durable repair and prevent future settling or sinking.
6. Allow the repair to cure: Follow the manufacturer’s instructions for curing time. This may involve allowing the repair to dry for a certain period or applying a sealant or topcoat.
7. Seal the repair (optional): If desired, apply a sealant or topcoat to the repaired area. This can help protect the repair from further damage and enhance its appearance.
Preventative Measures to Avoid Driveway Damage
While repairs are necessary for maintaining a driveway, it’s always better to prevent damage in the first place. Here are some tips for preventing driveway damage:
1. Avoid heavy vehicle traffic: Try to minimize the use of heavy vehicles on your driveway, as they can cause damage over time. If you need to park or drive heavy vehicles on your driveway, consider using plywood or other protective materials to distribute the weight.
2. Clean regularly: Sweep or brush your driveway regularly to remove debris and prevent it from accumulating and causing damage. Additionally, clean up any spills or stains promptly to prevent them from penetrating the surface and causing discoloration or deterioration.
3. Seal the driveway: Apply a sealant to your driveway every few years to protect it from the elements. Sealants can help prevent water penetration, freeze-thaw damage, and other forms of deterioration.
4. Avoid using harsh chemicals: Avoid using harsh chemicals, such as de-icing salts or oil-based sealants, on your driveway. These can cause damage to the surface and accelerate deterioration.
5. Trim tree roots: If you have trees near your driveway, regularly trim the roots to prevent them from growing underneath and causing damage. Consult with a professional arborist for guidance on proper tree root maintenance.
6. Repair cracks and potholes promptly: As mentioned earlier, timely repairs are crucial for preventing further damage. Address small cracks and potholes as soon as you notice them to prevent them from worsening.
Factors to Consider When Choosing a Driveway Repair Contractor
If you decide to hire a professional for driveway repair, it’s important to choose a reputable contractor. Here are some factors to consider when selecting a contractor:
1. Experience and expertise: Look for a contractor with extensive experience in driveway repair. Ask for references and examples of their previous work to ensure they have the necessary expertise.
2. Licensing and insurance: Ensure that the contractor is licensed and insured. This will protect you in case of any accidents or damages that may occur during the repair process.
3. Reputation and reviews: Research the contractor’s reputation and read reviews from previous customers. Look for positive feedback and testimonials to ensure that the contractor has a good track record.
4. Written estimate: Request a written estimate from the contractor before starting any work. This will help you understand the cost of the repairs and avoid any surprises.
5. Warranty or guarantee: Inquire about any warranties or guarantees offered by the contractor. A reputable contractor should stand behind their work and offer some form of warranty or guarantee.
6. Communication and professionalism: Pay attention to the contractor’s communication and professionalism. They should be responsive to your inquiries and provide clear and detailed explanations of the repair process.
Cost of Driveway Repair: Budgeting and Financing Options
The cost of driveway repair can vary depending on several factors, including the extent of the damage, the type of repair required, and the contractor’s rates. It’s important to budget for driveway repairs and explore financing options if needed.
To budget for driveway repair, start by obtaining estimates from multiple contractors. Compare the estimates and consider the scope of the repairs, the quality of materials and workmanship, and the contractor’s reputation. It’s important to strike a balance between cost and quality to ensure that you get the best value for your money.
If the cost of driveway repair is beyond your immediate budget, there are financing options available. Some contractors offer financing plans or payment options that allow you to spread out the cost of repairs over time. Additionally, you may consider applying for a home improvement loan or using a credit card with a low-interest rate to finance the repairs. It’s important to carefully consider the terms and interest rates of any financing options and ensure that you can comfortably afford the monthly payments.
Maintaining Your Newly Repaired Driveway: Dos and Don’ts
Once your driveway has been repaired, it’s important to maintain it properly to ensure its longevity and appearance. Here are some dos and don’ts for maintaining a newly repaired driveway:
Dos:
– Clean your driveway regularly to remove debris and prevent it from accumulating and causing damage.
– Sweep or brush your driveway to remove leaves, dirt, and other debris.
– Use a pressure washer to deep clean your driveway periodically, especially if it becomes stained or discolored.
– Apply a sealant or topcoat to your driveway every few years to protect it from the elements.
– Promptly address any spills or stains to prevent them from penetrating the surface and causing discoloration or deterioration.
– Avoid parking or driving heavy vehicles on your driveway, as they can cause damage over time. If necessary, use protective materials to distribute the weight.
Don’ts:
– Don’t use harsh chemicals, such as de-icing salts or oil-based sealants, on your driveway. These can cause damage to the surface and accelerate deterioration.
– Don’t use sharp objects or heavy machinery on your driveway, as they can cause scratches or other forms of damage.
– Don’t allow tree roots to grow underneath your driveway. Regularly trim the roots to prevent them from causing damage.
– Don’t ignore small cracks or potholes. Address them promptly to prevent them from worsening and requiring more extensive repairs.
By following these dos and don’ts, you can ensure a successful job interview. First, do research the company and the position you are applying for. This will show your interest and preparation. Second, do dress professionally and appropriately for the job. This will make a good first impression. Third, do practice answering common interview questions beforehand. This will help you feel more confident and prepared. Fourth, do arrive on time or even a few minutes early. This shows your punctuality and respect for the interviewer’s time. Lastly, do follow up with a thank-you email or note after the interview to express your gratitude and reiterate your interest in the position. On the other hand, don’t be late for the interview as it reflects poorly on your reliability. Don’t speak negatively about previous employers or colleagues as it shows a lack of professionalism. Don’t forget to bring copies of your resume and any other necessary documents. Don’t interrupt the interviewer while they are speaking, instead, listen attentively and respond thoughtfully. Lastly, don’t forget to ask questions about the company or position during the interview to show your interest and engagement.
If you’re looking to maximize your home’s curb appeal, awning installation can be a game-changer. Not only does it provide shade and protection from the elements, but it also adds a touch of elegance to your outdoor space. In a related article, InstaTasks discusses the benefits of awning installation and how it can transform your home. From tears to tension, they also provide tips on how to fix common awning problems. Check out their article on how to fix common awning problems for more information.